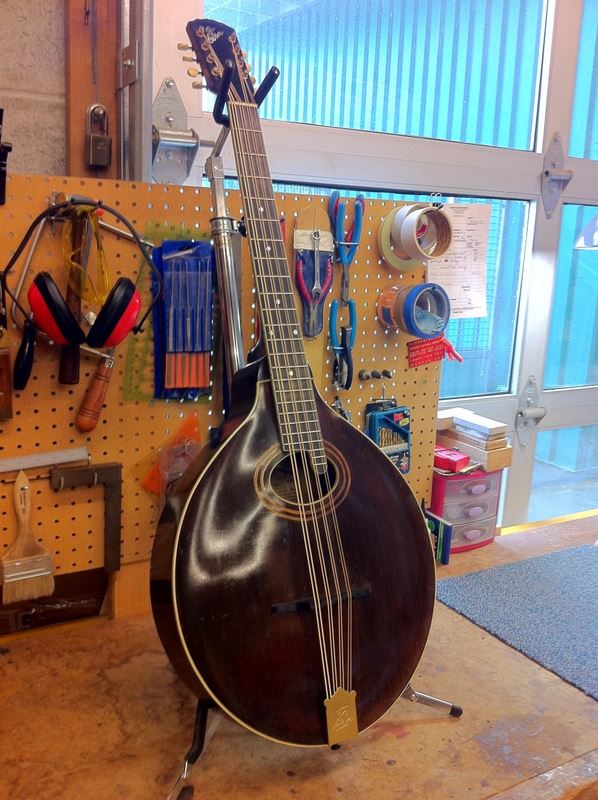
Fretboard 911 is a new feature where we look at the repair and restoration of a vinatge instrument. For our first entry, we go to Seattle where luthier Matthew Tolley did an excellent job of saving a 1920 Gibson K-1 mandocello with a number of issues. The floor is yours, Matthew…
This lovely Gibson K-1 recently came across my bench for repair. Although its in pretty good condition for its age, this instrument needed some attention. This mandocello had a loose soundboard brace, a seam separation between the top and sides and worn and loose frets. Also, the original bridge was broken in two pieces. I’d like to show you some of the steps required to get this venerable instrument back on the road.
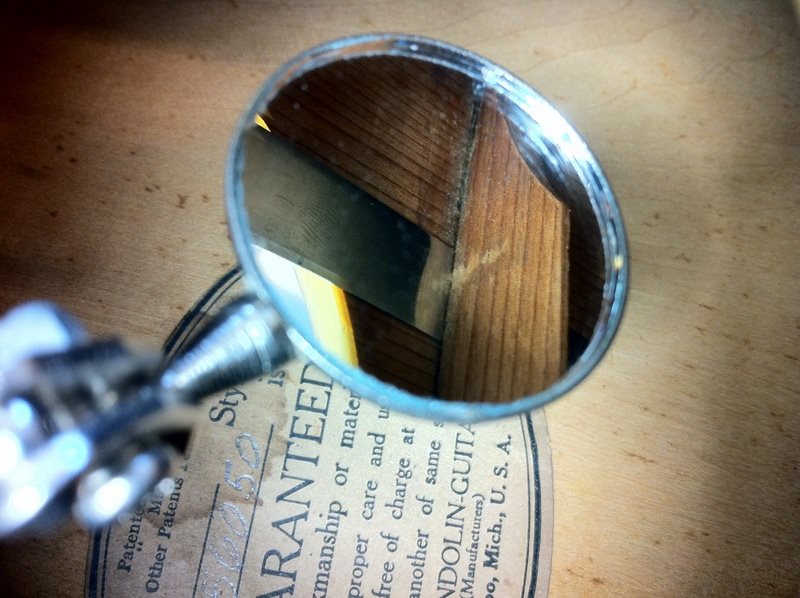
The first order of business is to tackle the structural repairs including the loose transverse brace that runs under the top, between the soundhole and the bridge. Gibson mandolin family instruments from this period only had one transverse brace and it’s common for them to pop loose over time. If not attended to, the lack of support can cause the soundboard to distort and flatten but, happily, if you catch it early, it’s an easy repair job. The tricky part is having to use a mirror to examine the damage. As you can see, the brace has come loose along nearly half of its length which is demonstrated by sliding a feeler gauge in the separation between the soundboard and the brace.
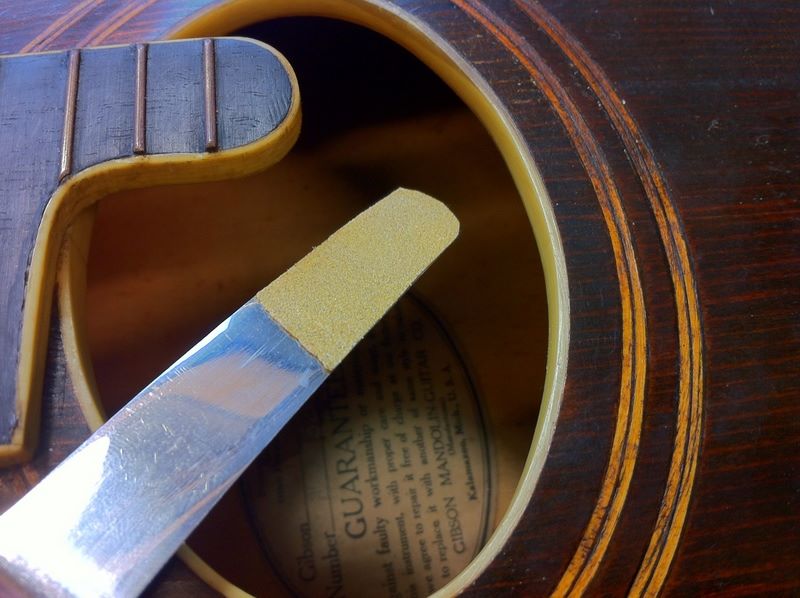
Before gluing the loose brace, the old glue needs to be removed as best as possible. This is accomplished by attaching sandpaper to the end of a feeler gauge and carefully sanding off the old glue between the brace and the soundboard. The original celluloid pickguard for this the K-1 decomposed a while ago, a sadly common fate for old plastic. You can see where the gasses from the decay tarnished the frets in the fretboard extension and discolored the ivoroid in the soundhole rings.
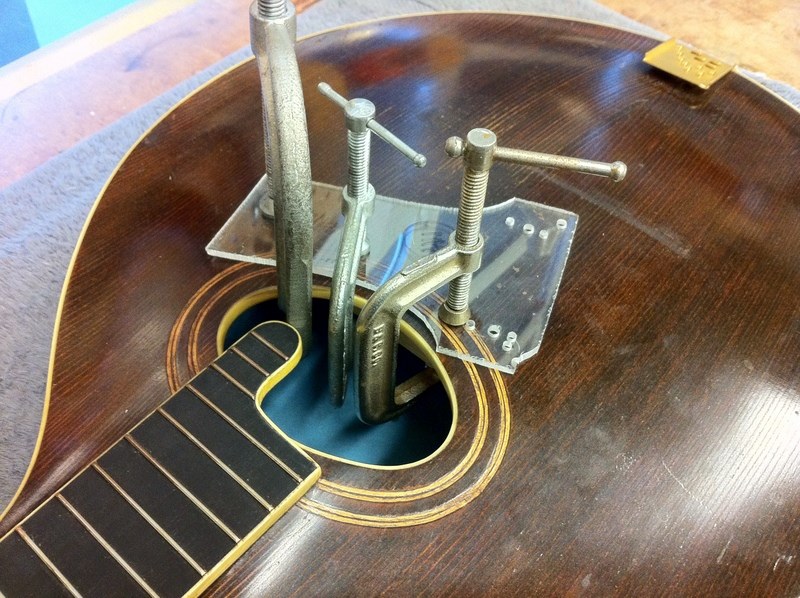
Once the glue has been cleaned from between the brace and soundboard, glue is applied with a clean feeler gauge and the brace is clamped to the underside of the soundboard. Once the brace has been glued, the instrument is set aside to allow the glue to dry overnight.
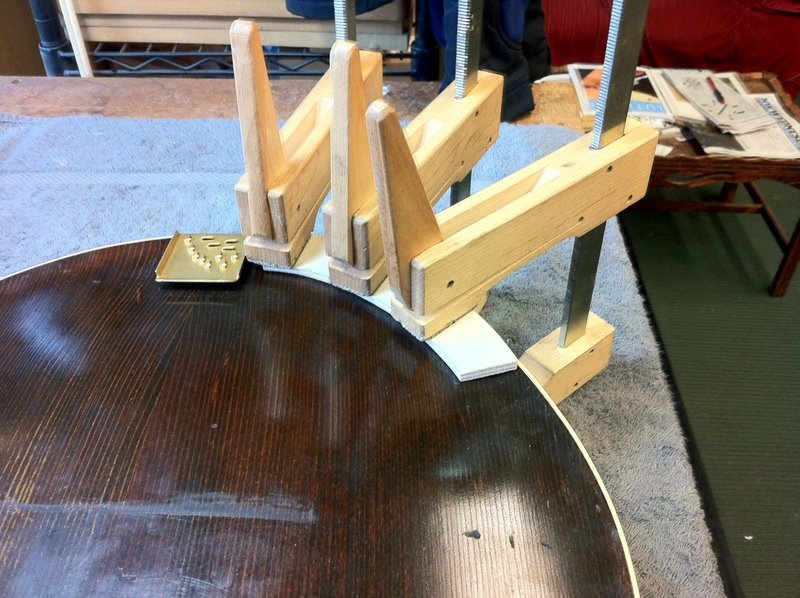
Once the clamps are removed, it’s time to move on to the section where the top has come loose from the sides. Like the transverse brace before, the old glue is removed from the loose section and then glue is applied and the separation is carefully clamped shut. Again, the instrument is set aside to allow the glue to dry completely before removing the clamps.
Now that the structural repairs to the body have been completed it is time to move on to the frets. The frets on this instrument were severely worn and need to be replaced. To start, the frets are carefully pulled from the fretboard and then thin cyanoacrylate is wicked into the edge of the fret slot to hold any chips and to strengthen the walls of the slot itself. You can see the tiny chips up near the soundhole that need to be stabilized.
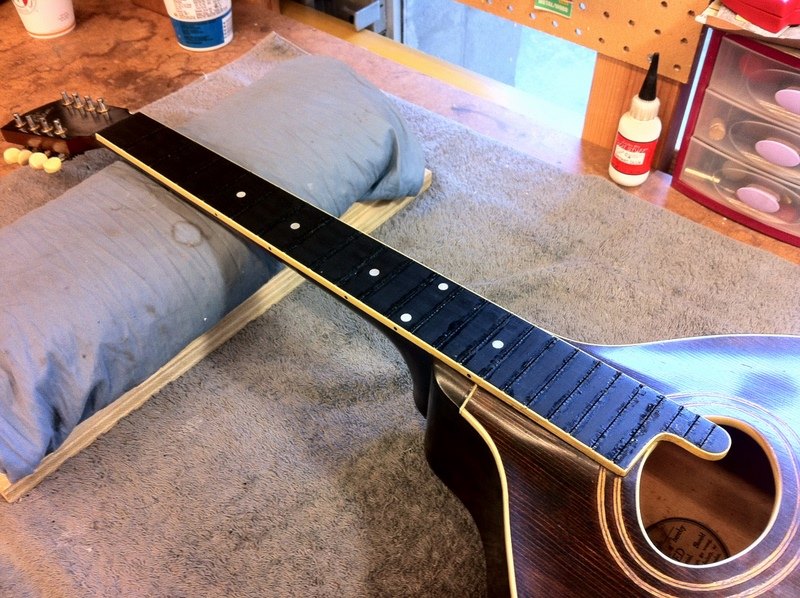
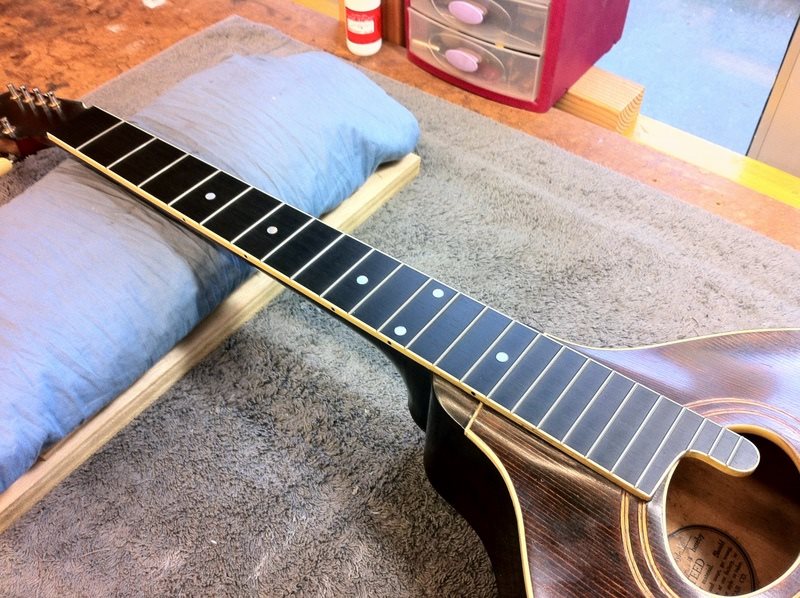
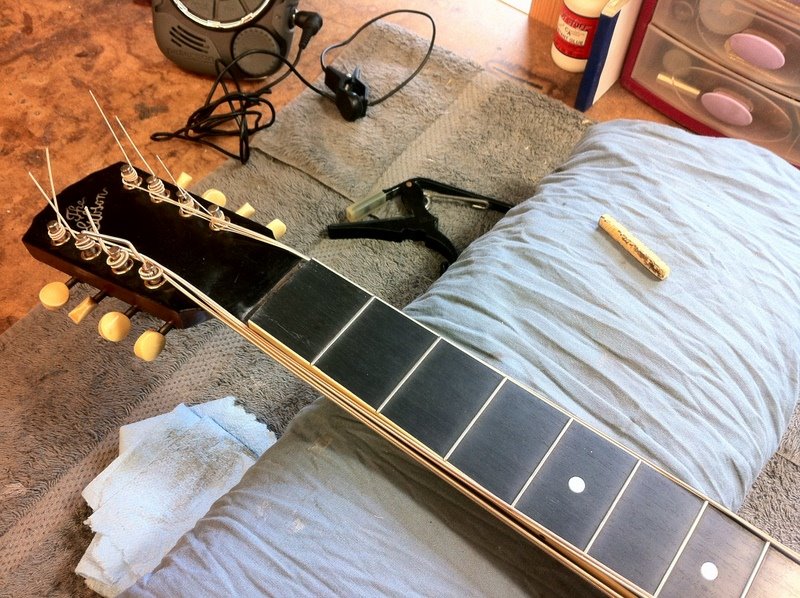
Once the cyanoacrylate has dried, the fingerboard is leveled and polished. Once the fretboard is level, the fret ends are undercut to overhang the binding and the frets are carefully tapped into place. Once the frets have been installed, they are leveled, crowned and, finally, polished. In this photo, the frets are being crowned, which brings them back to a rounded profile after being milled flat. After the frets are polished the fingerboard is then cleaned and oiled.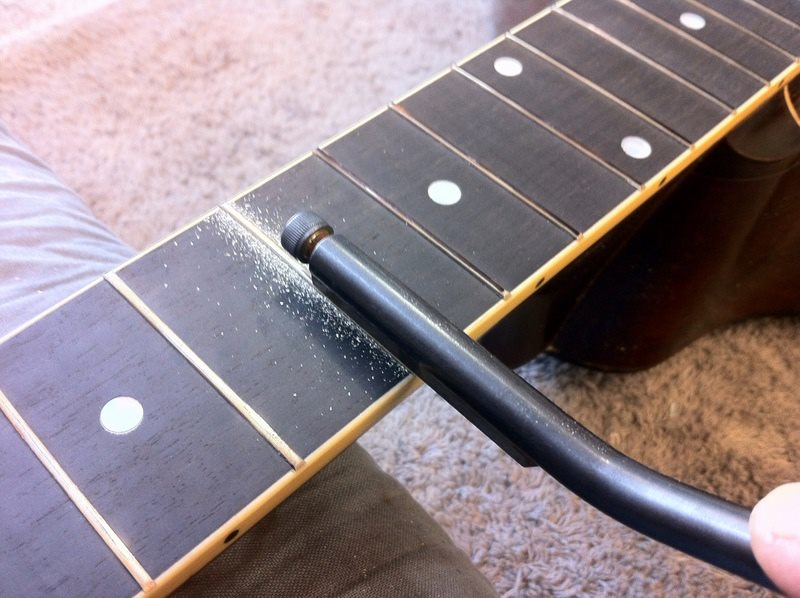
The new fretboard is as good as new.
The final task in this project before stringing up the instrument is to repair the broken original bridge. Simply gluing the two pieces of the bridge together will not work in this situation due to the enormous amount of downwards pressure exerted on the bridge when the instrument is tuned to pitch. Therefore a supportive ebony cap will be fabricated to support the damaged area of the bridge and to provide undamaged wood to properly fit the bridge to the soundboard.
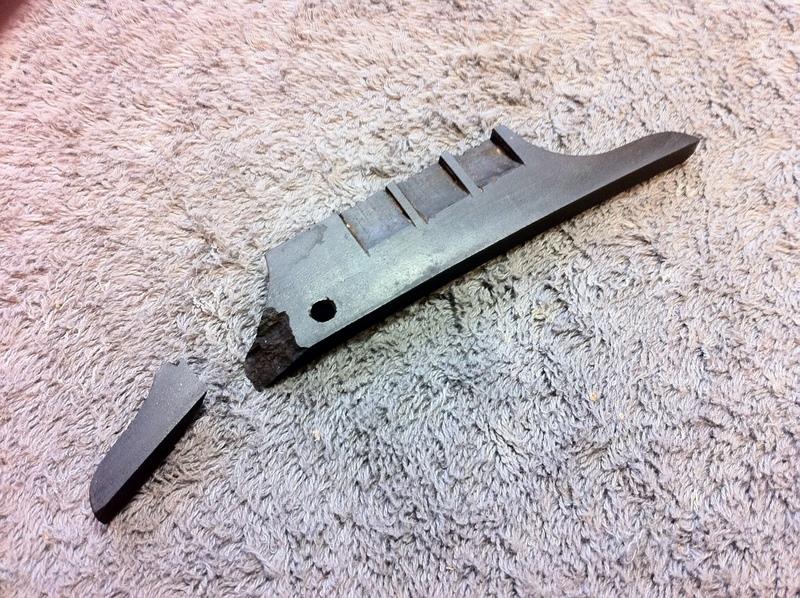
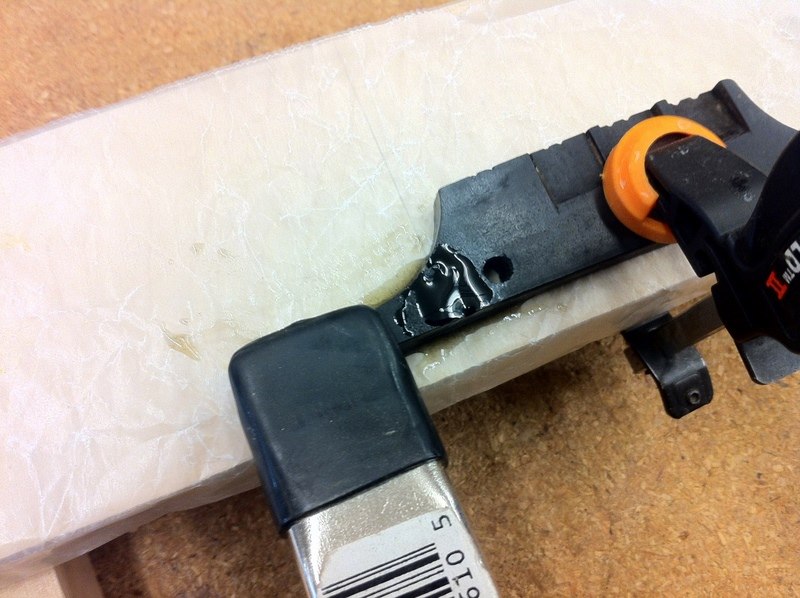
First step is to glue the two parts of the bridge back together. Epoxy mixed with a small amount of ebony dust is used for this process to give as much structural strength possible and to help fill any voids in the joint between the two parts of the bridge.
Once the epoxy has dried and has the excess has been cleaned from the bridge, a small amount of material is removed evenly from the bottom of the bridge. Next, an ebony cap is fabricated to fit to the bottom of the bridge. The ebony cap will replace the wood removed from the bottom of the bridge, giving me a solid base to fit to the soundboard, and at the same time reinforce the damaged area.
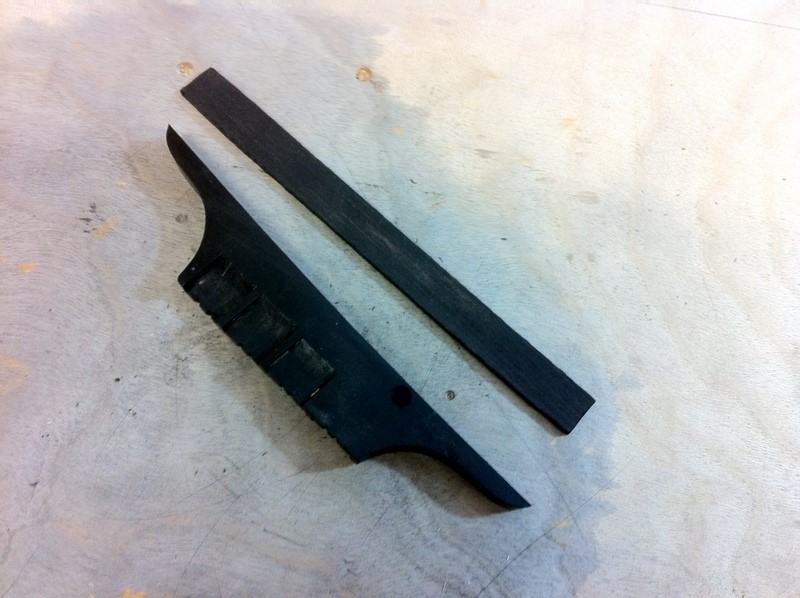
Gluing the ebony cap to the bridge. Again epoxy is used for this operation for strength and minimal joint movement under pressure and over time.
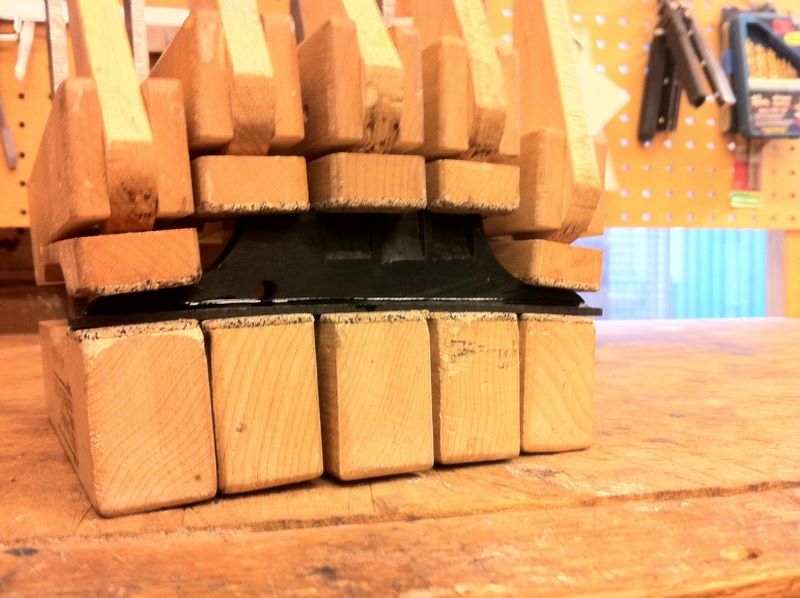
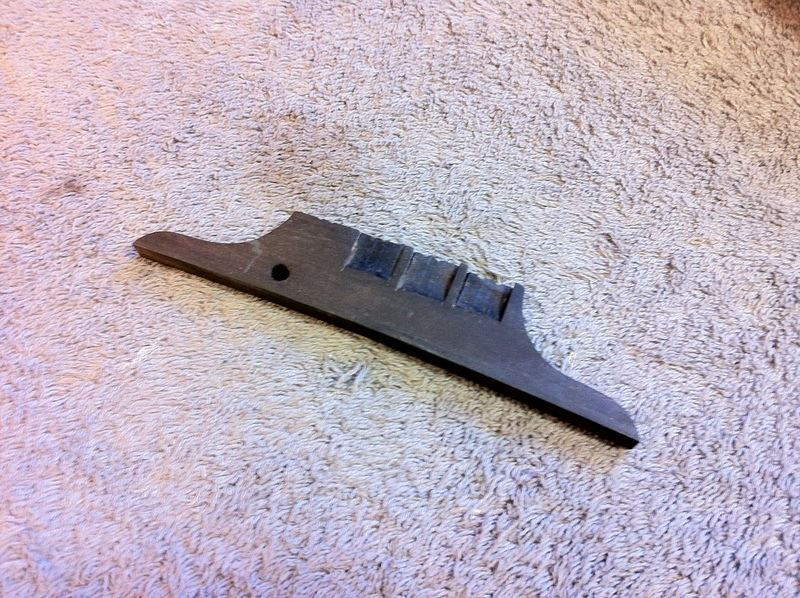
Once the epoxy has set, the clamps are removed and the ebony cap is scraped flush with the sides of the bridge. A shot of the repaired ebony bridge. The hole in the bridge was for part of the mounting system for the old pickguard, which the own has decided not to replace.
Now that all the repairs have been completed, it’s finally time to set up the mandocello. The setup for this instrument consists of installing the strings and adjusting the action at the nut and bridge, in addition to setting the intonation for the instrument.
The 1920 Gibson K-1 mandocello is back on the road and looking pretty good for a 94-year-old. With proper care, I suspect this lovely instrument will still be around a century from now. -Matthew Tolley
